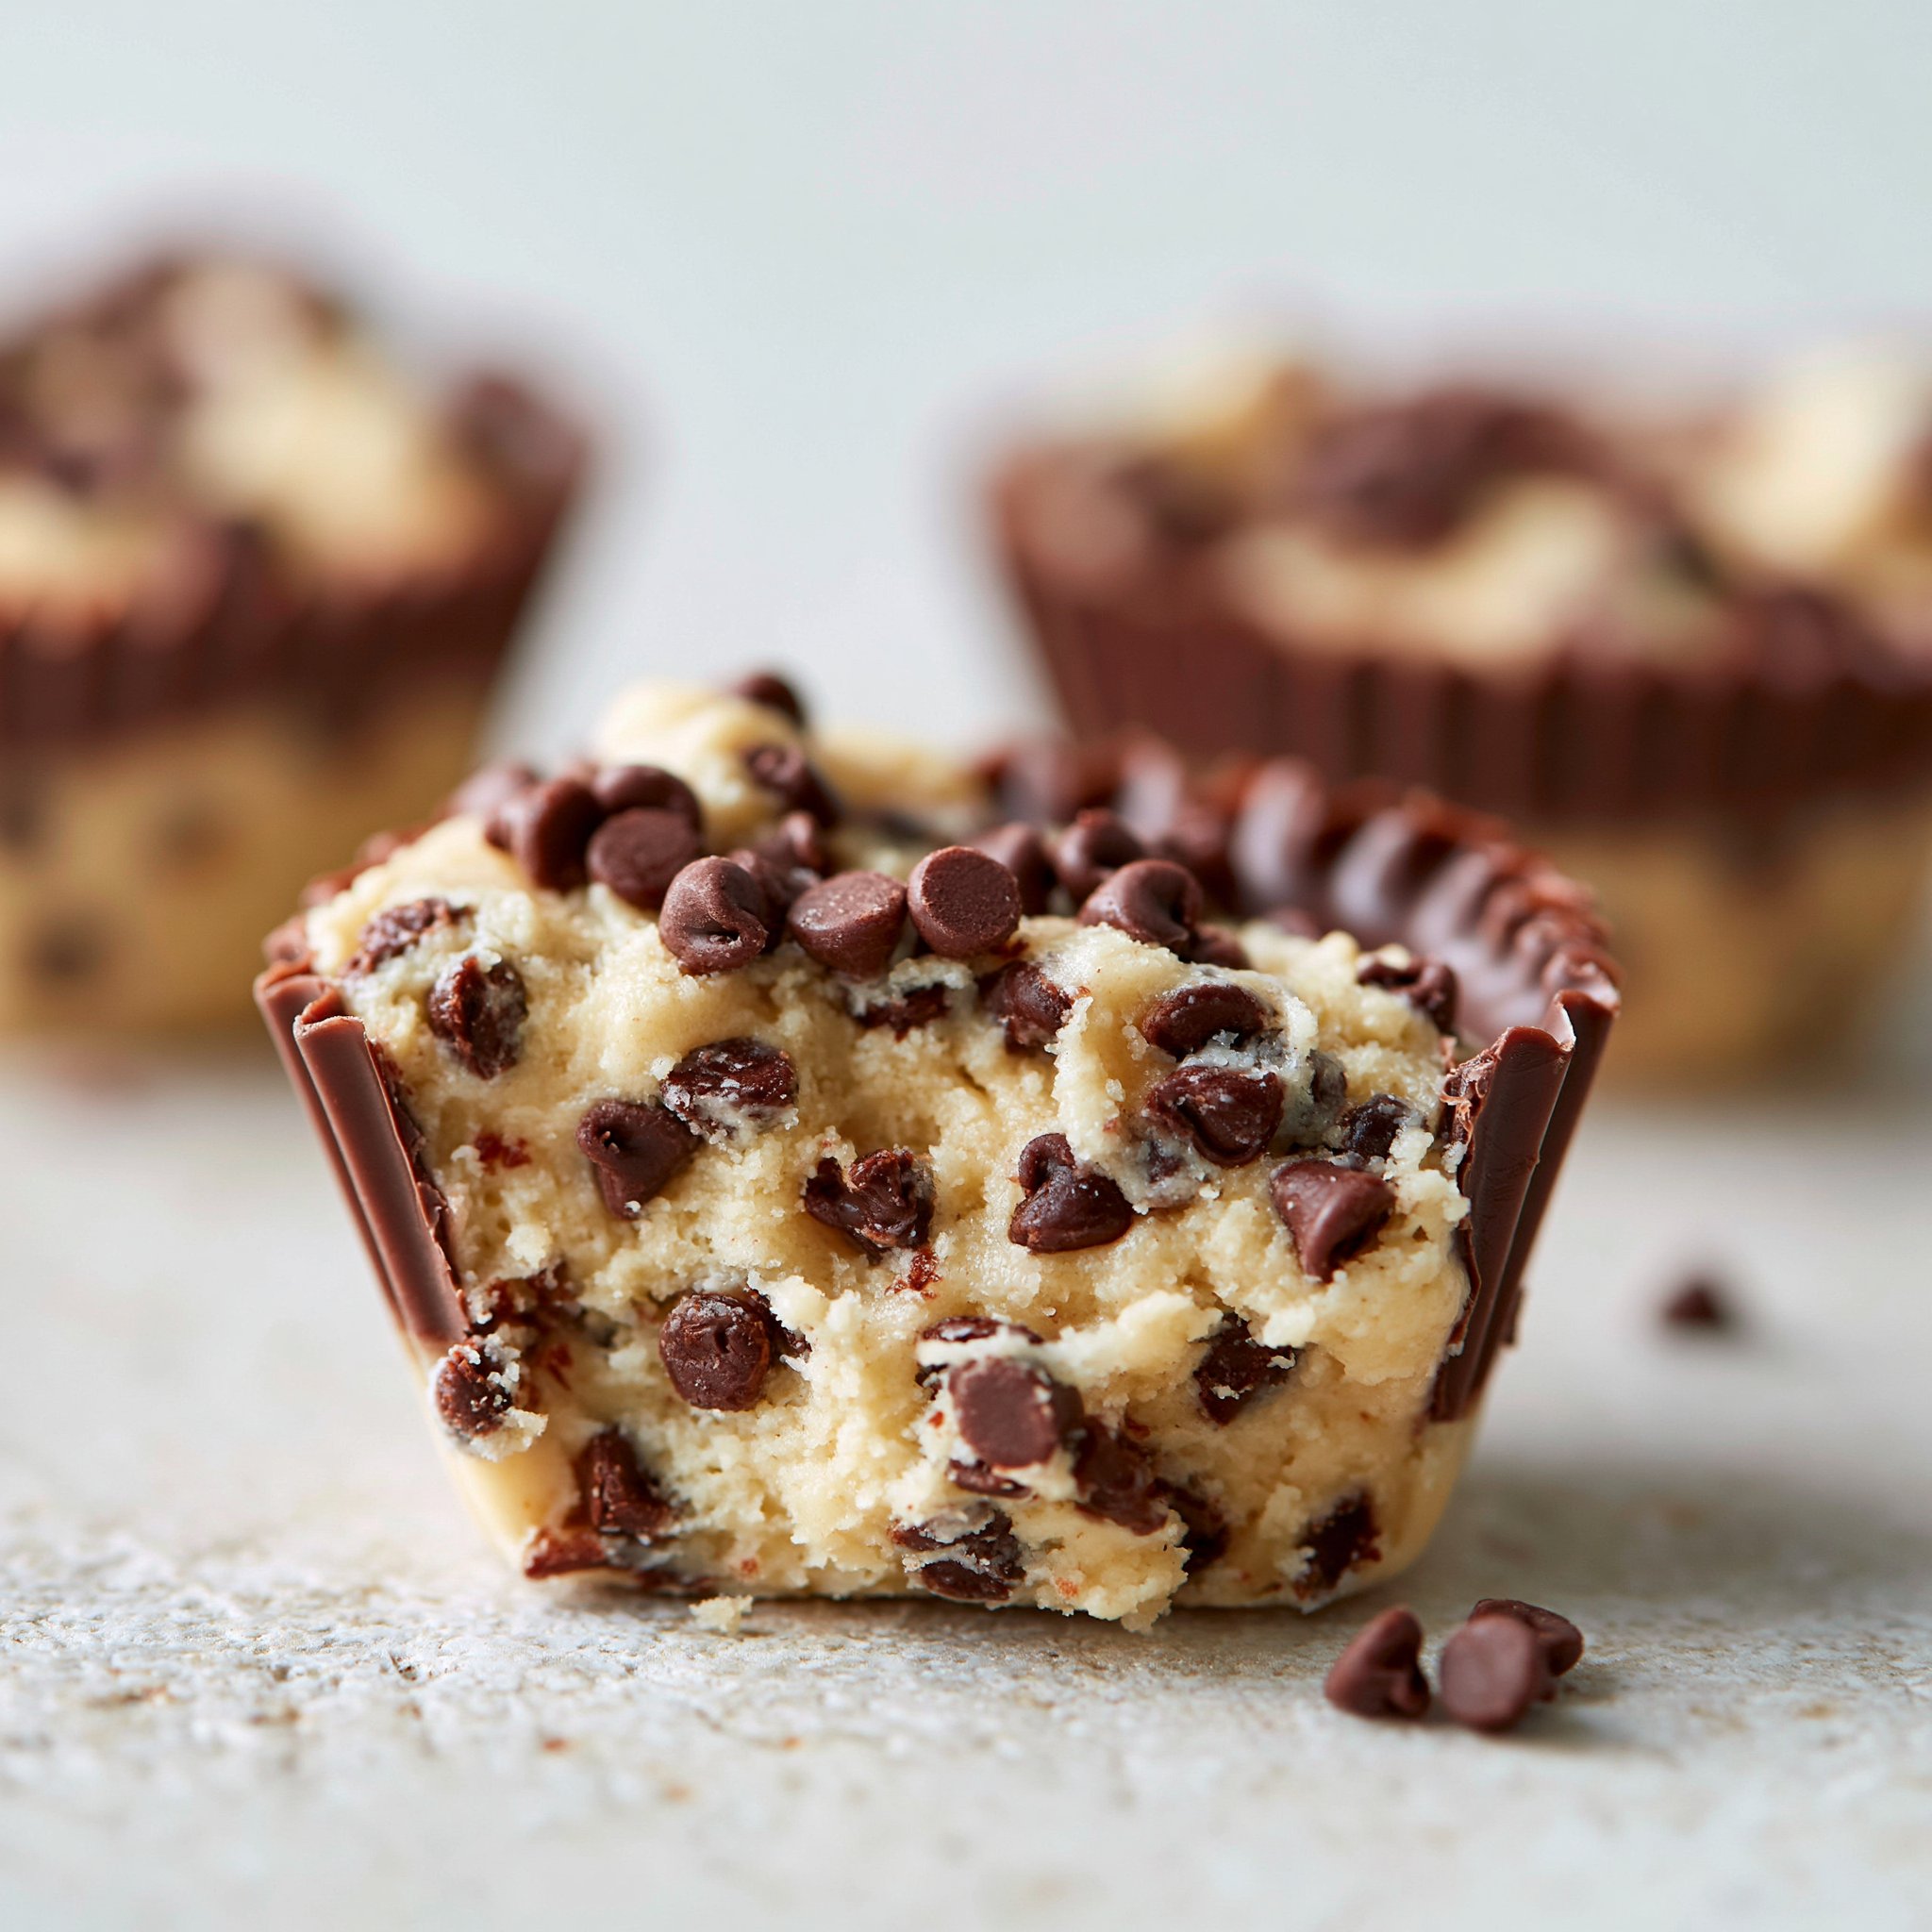
The best part of these chocolate chip cookie dough cups is the contrast: a dark, slightly bitter chocolate-crumb crust, a silky chocolate layer that sets like a soft truffle, and a thick, brown-sugar cookie dough cap that stays creamy straight from the fridge. Every bite hits cold, fudgy, and buttery—without turning into a rock-hard frozen dessert.
They’re also refreshingly low-effort: press, melt, stir, layer, chill. If you’re on a no-oven streak, you might also like my chocolate mochi (no oven needed) for another set-and-slice style sweet.
Why You’ll Love This Recipe
- The crust sets up sturdy and compact, so you can lift a cup without crumbs falling apart.
- The chocolate layer (chips + heavy cream) chills into a smooth, glossy ganache-like bite—not gritty, not stiff.
- The cookie dough topping is thick and scoopable, with that classic brown sugar + vanilla aroma.
- Mini chocolate chips in the dough give you little pops of texture so it doesn’t eat like plain frosting.
- It’s make-ahead friendly: the fridge does the work, and the cups actually slice cleaner after chilling.
- No baking required—just a bowl, a spoon, and a little patience while it firms up.
The Story Behind This Recipe
I started making these when I wanted “cookie dough energy” but didn’t feel like baking a whole batch of cookies—layering everything into cups let me keep the dough thick, the chocolate smooth, and the portions tidy (plus the crumb crust makes them feel like a real dessert, not a snack attack).
What It Tastes Like
Cold from the fridge, you get a deep cocoa crunch first, then a creamy chocolate layer that melts slowly on your tongue, followed by a soft, buttery cookie dough that tastes like brown sugar and vanilla with mini chips throughout. It’s sweet, yes, but the dark cookie crumb base keeps the bite balanced and less one-note.
Ingredients You’ll Need
The ingredient list is short, but each piece matters: chocolate cookie crumbs + melted butter make a firm base, and the chocolate chips with heavy cream create a ganache-like middle that slices clean once chilled. For the dough, be sure your flour is heat-treated (so it’s safe to eat), and let the butter soften so it whips smoothly with the brown sugar—no gritty bits. If you love a cookie-dough-forward treat, my no-bake peanut butter cookies are another easy option when you want something fast and rich.
- 1 cup chocolate cookie crumbs
- 1/4 cup melted butter
- 1 cup chocolate chips
- 1/2 cup heavy cream
- 1/2 cup brown sugar
- 1 cup all-purpose flour (heat-treated)
- 1/2 cup butter (softened)
- 2 teaspoons vanilla extract
- 1/2 cup mini chocolate chips
How to Make Chocolate Chip Cookie Dough Cups
- Make the crumb crust. In a bowl, stir the chocolate cookie crumbs with the melted butter until the mixture looks evenly moistened (no dry sandy patches). Divide between your cups and press firmly into the bottom to make a compact, level layer—use the back of a spoon to really pack it down.
- Melt the chocolate layer until smooth. Combine the chocolate chips and heavy cream and melt together, stirring until the mixture is completely smooth and glossy. You’re looking for a silky pourable texture—no visible chip bits.
- Add the chocolate layer. Spoon or pour the melted chocolate mixture over the crust in each cup. Give each cup a gentle tap so the chocolate settles into an even layer.
- Mix the cookie dough topping. In a separate bowl, beat the softened butter and brown sugar until fluffy and lighter in color. Gradually add the heat-treated flour, mixing just until the dough comes together, then mix in the vanilla. Fold in the mini chocolate chips until they’re evenly distributed.
- Top and chill until set. Spoon cookie dough over the chocolate layer and lightly press it into place so it adheres. Refrigerate until the layers feel firm and set—this is when the tops look matte and the cups hold their shape cleanly when you pick one up.
- Serve cold. Keep them chilled for the best texture, and enjoy straight from the fridge.
If you’re baking other cookie projects alongside these, my cinnamon roll cookies are a fun, spiced counterpoint—these cups are all about chocolate-and-vanilla richness.
Tips for Best Results
- Pack the crust firmly. The tighter you press the crumb layer, the cleaner the bite—loose crumbs make the base crumble when you spoon in.
- Stop melting the chocolate as soon as it’s glossy. Overheating can make it look a little dull or thick; you want it smooth and shiny so it chills into a creamy layer.
- Use truly softened butter for the dough. If it’s too cold, the brown sugar won’t whip in well and the dough can feel dense instead of fluffy.
- Add flour gradually. This keeps the dough from turning dry or powdery—once it looks thick and cohesive, you’re there.
- Chill long enough to set. You’ll know they’re ready when the chocolate layer doesn’t look wet and the top feels firm to a light touch.
Variations and Substitutions
- Make them extra chocolatey: use a slightly thicker chocolate layer by distributing it a bit more generously in each cup (same ingredients, just a heavier pour per cup if you’re using fewer cups).
- More “cookie dough” texture: fold the mini chips in thoroughly so every bite has crunch; it makes the topping feel more like true dough and less like a soft cap.
- Different cup sizes: mini cups make a more candy-like bite, while larger cups feel more like a plated dessert—just keep the layers proportionate.
How to Serve It
Serve these straight from the fridge so the chocolate layer stays creamy-set and the cookie dough holds its shape. I like them with coffee or a glass of cold milk, and they’re especially nice plated with a spoon so you can scoop through all three layers in one bite. If cookie dough is your love language, you might also enjoy my chewy banana bread cookies when you want something softer and more cake-cookie than chilled and layered.
How to Store It
Store the cups covered in the refrigerator so the chocolate layer stays set and the cookie dough remains thick and scoopable. They’re a great make-ahead dessert—once chilled, the layers hold up well for quick grabs. Keep them cold right up until serving for the cleanest texture and best bite.

Final Thoughts
These cookie dough cups hit that sweet spot between homemade and effortlessly polished: crisp chocolate crumbs, silky chocolate, and a buttery brown-sugar dough top with mini chips in every scoop. If you make them, chill them until properly firm—you’ll be rewarded with neat layers and the best cold, fudgy bite.
Conclusion
If you’d like to compare approaches (and see other fun spins on cookie-dough-in-a-cup), check out Half Baked Harvest’s cookie dough cups, Bakerita’s cookie dough cups, and Completely Delicious’s cookie cups with cookie dough frosting. And if you’re browsing on my site, you can also review my cookie policy for more details on how cookies are used here.
Chocolate Chip Cookie Dough Cups
Ingredients
Method
- In a bowl, stir the chocolate cookie crumbs with the melted butter until the mixture looks evenly moistened. Divide between the cups and press firmly into the bottom to make a compact, level layer.
- Combine the chocolate chips and heavy cream and melt together, stirring until the mixture is completely smooth and glossy.
- Spoon or pour the melted chocolate mixture over the crust in each cup. Tap gently to settle the chocolate into an even layer.
- Beat the softened butter and brown sugar until fluffy. Gradually add the heat-treated flour until the dough comes together, then mix in the vanilla and fold in the mini chocolate chips.
- Spoon cookie dough over the chocolate layer and lightly press it into place. Refrigerate until set.
- Keep chilled and enjoy straight from the fridge.