When you want a brownie fix without committing to slicing a whole pan, these gluten-free brownie bites deliver fast. They bake up in a mini muffin tin with a thin, crackly-looking top and a soft, cocoa-rich center that stays tender once they cool.
They’re also the kind of batter you can stir together in minutes—no mixer, no fancy steps. If you’re craving a full-pan version another day, my easy brownie recipe is the one I reach for when I want those classic square edges.
Why You’ll Love This Recipe
- Deep chocolate flavor from a full 1/2 cup cocoa powder, with a gentle caramel note from brown sugar.
- Bite-size payoff: the mini muffin shape gives you lots of “edge” and a satisfying brownie-to-top ratio.
- One-bowl-friendly workflow: dry in one bowl, wet in another, then together—no creaming, no whipping.
- Quick bake time (12–15 minutes): perfect when you want brownies now, not later.
- Tender, not dry: the melted butter (or coconut oil) keeps the crumb soft even after they’ve cooled.
- Easy to portion: filling each cup about 3/4 full makes the batch look uniform and bakery-neat.
The Story Behind This Recipe
I developed these on a weeknight when I wanted the dense chocolate feel of brownies but didn’t want to wait for a full pan to cool and slice; baking the batter in a mini muffin tin gives you little brownie “cups” that set quickly and pop out cleanly after a short rest.
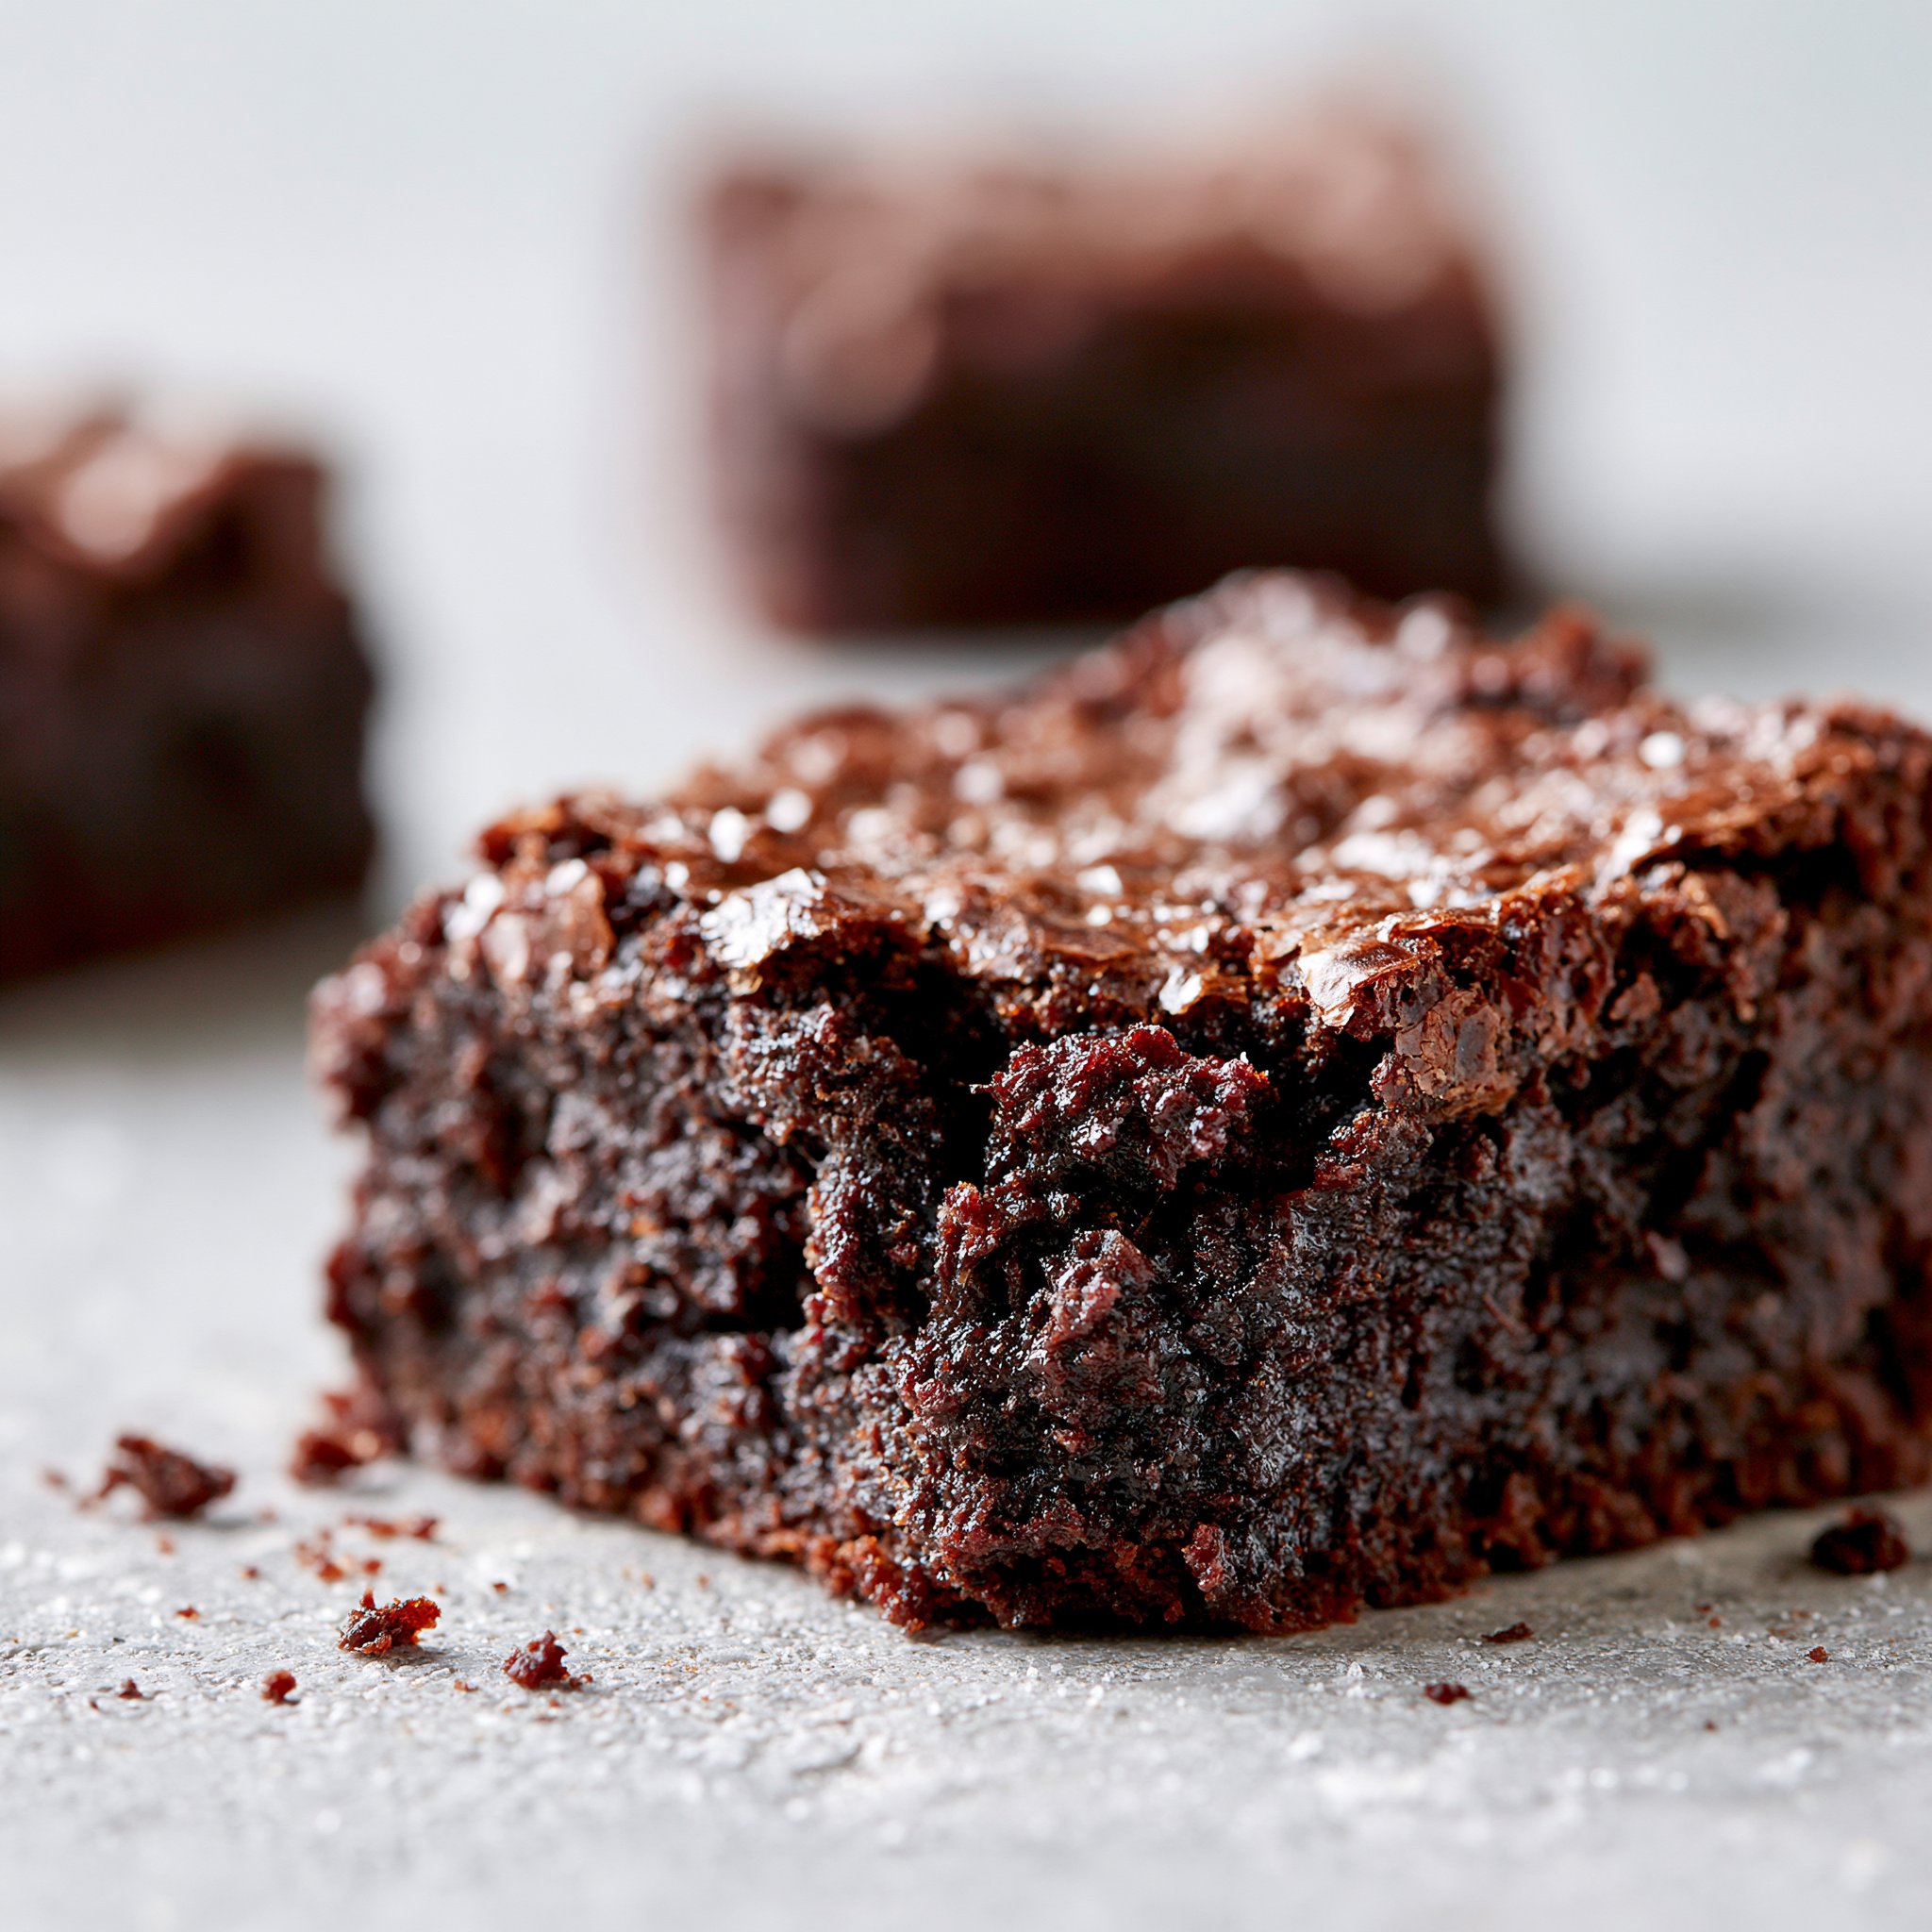
What It Tastes Like
These brownie bites smell like warm cocoa and vanilla as they bake, with a sweetness that’s balanced by the slight bitterness of cocoa powder. The brown sugar adds a soft molasses warmth, and the texture lands in that happy middle: set on top, fudgy-leaning in the center, and pleasantly tender around the edges.
Ingredients You’ll Need
A few ingredients do a lot of heavy lifting here: cocoa powder brings the bold chocolate base, while a mix of granulated sugar and brown sugar builds sweetness and that subtle toffee depth. Eggs give structure so the bites rise and set (without getting cakey), and a small amount of baking powder helps them lift just enough in the mini cups. If you use coconut oil instead of butter, you’ll get a slightly cleaner, lighter finish.
- 1 cup gluten free all-purpose flour
- 1/2 cup cocoa powder
- 1/2 cup sugar
- 1/2 cup brown sugar
- 1/4 cup melted butter or coconut oil
- 2 large eggs
- 1 tsp vanilla extract
- 1/2 tsp baking powder
- 1/4 tsp salt
How to Make Gluten-Free Brownie Bites
- Heat the oven and prep the pan. Preheat to 350°F (175°C). Grease a mini muffin tin well so the bites release cleanly (especially around the rims).
- Whisk the dry ingredients. In a medium bowl, whisk together the gluten-free flour, cocoa powder, sugar, brown sugar, baking powder, and salt until the cocoa looks evenly distributed and there are no obvious lumps.
- Mix the wet ingredients until smooth. In another bowl, stir the melted butter (or coconut oil) with the eggs and vanilla. You’re looking for a smooth, glossy mixture—no streaks of egg.
- Combine wet + dry gently. Pour the wet mixture into the dry ingredients and stir just until you don’t see dry pockets. The batter will be thick and scoopable; stop mixing as soon as it comes together so the bites stay tender.
- Portion into the tin. Spoon batter into the prepared mini muffin cups, filling each about 3/4 full. This gives them room to rise slightly without spilling over.
- Bake. Bake for 12–15 minutes, until the tops look set (no wet shine) and a toothpick comes out clean. If you’re on the fence, pull them a touch earlier rather than later—mini bakes can go from moist to dry quickly.
- Cool briefly, then remove. Let the bites cool in the tin for a few minutes so they firm up, then gently remove them. They’ll smell extra chocolatey as the steam finishes escaping.
In the mood to compare textures? My fudgy date brownies lean naturally sweet and extra plush in the middle, while these brownie bites keep things classic and cocoa-forward.
Tips for Best Results
- Grease the tin thoroughly. The sugar in the batter can stick to the sides; a well-greased pan helps the bites pop out without losing their edges.
- Whisk the dry mix until the cocoa is fully blended. Cocoa likes to clump; taking an extra 20 seconds here prevents bitter pockets.
- Stir just to combine once wet meets dry. Overmixing can make gluten-free batters bake up a little tougher and more matte instead of tender.
- Use the toothpick test correctly. You want it to come out clean—these are small, so they set fast; start checking at 12 minutes.
- Let them rest in the pan a few minutes. Right out of the oven they’re delicate; a short cool sets the structure so they don’t tear.
If you’re building a brownie “lineup” for a dessert table, pairing these with my chewy pan brownies gives you both bite-size pieces and classic squares without changing your ingredient style too much.
Variations and Substitutions
- Butter vs. coconut oil: both work well; coconut oil will give a slightly different aroma and a cleaner finish, while butter tastes more classic and round.
- More or less sweet: you can adjust the sugar amounts slightly, but keep in mind the sugars also affect moisture and that shiny, set top.
- Make them smaller-looking: fill a touch under 3/4 full for shorter bites (bake time may be closer to 12 minutes).
When I want a naturally sweet, fruit-forward twist instead of the brown-sugar molasses note here, I’ll point friends to these date-sweetened fudgy brownies as a different (but still very chocolate) lane.
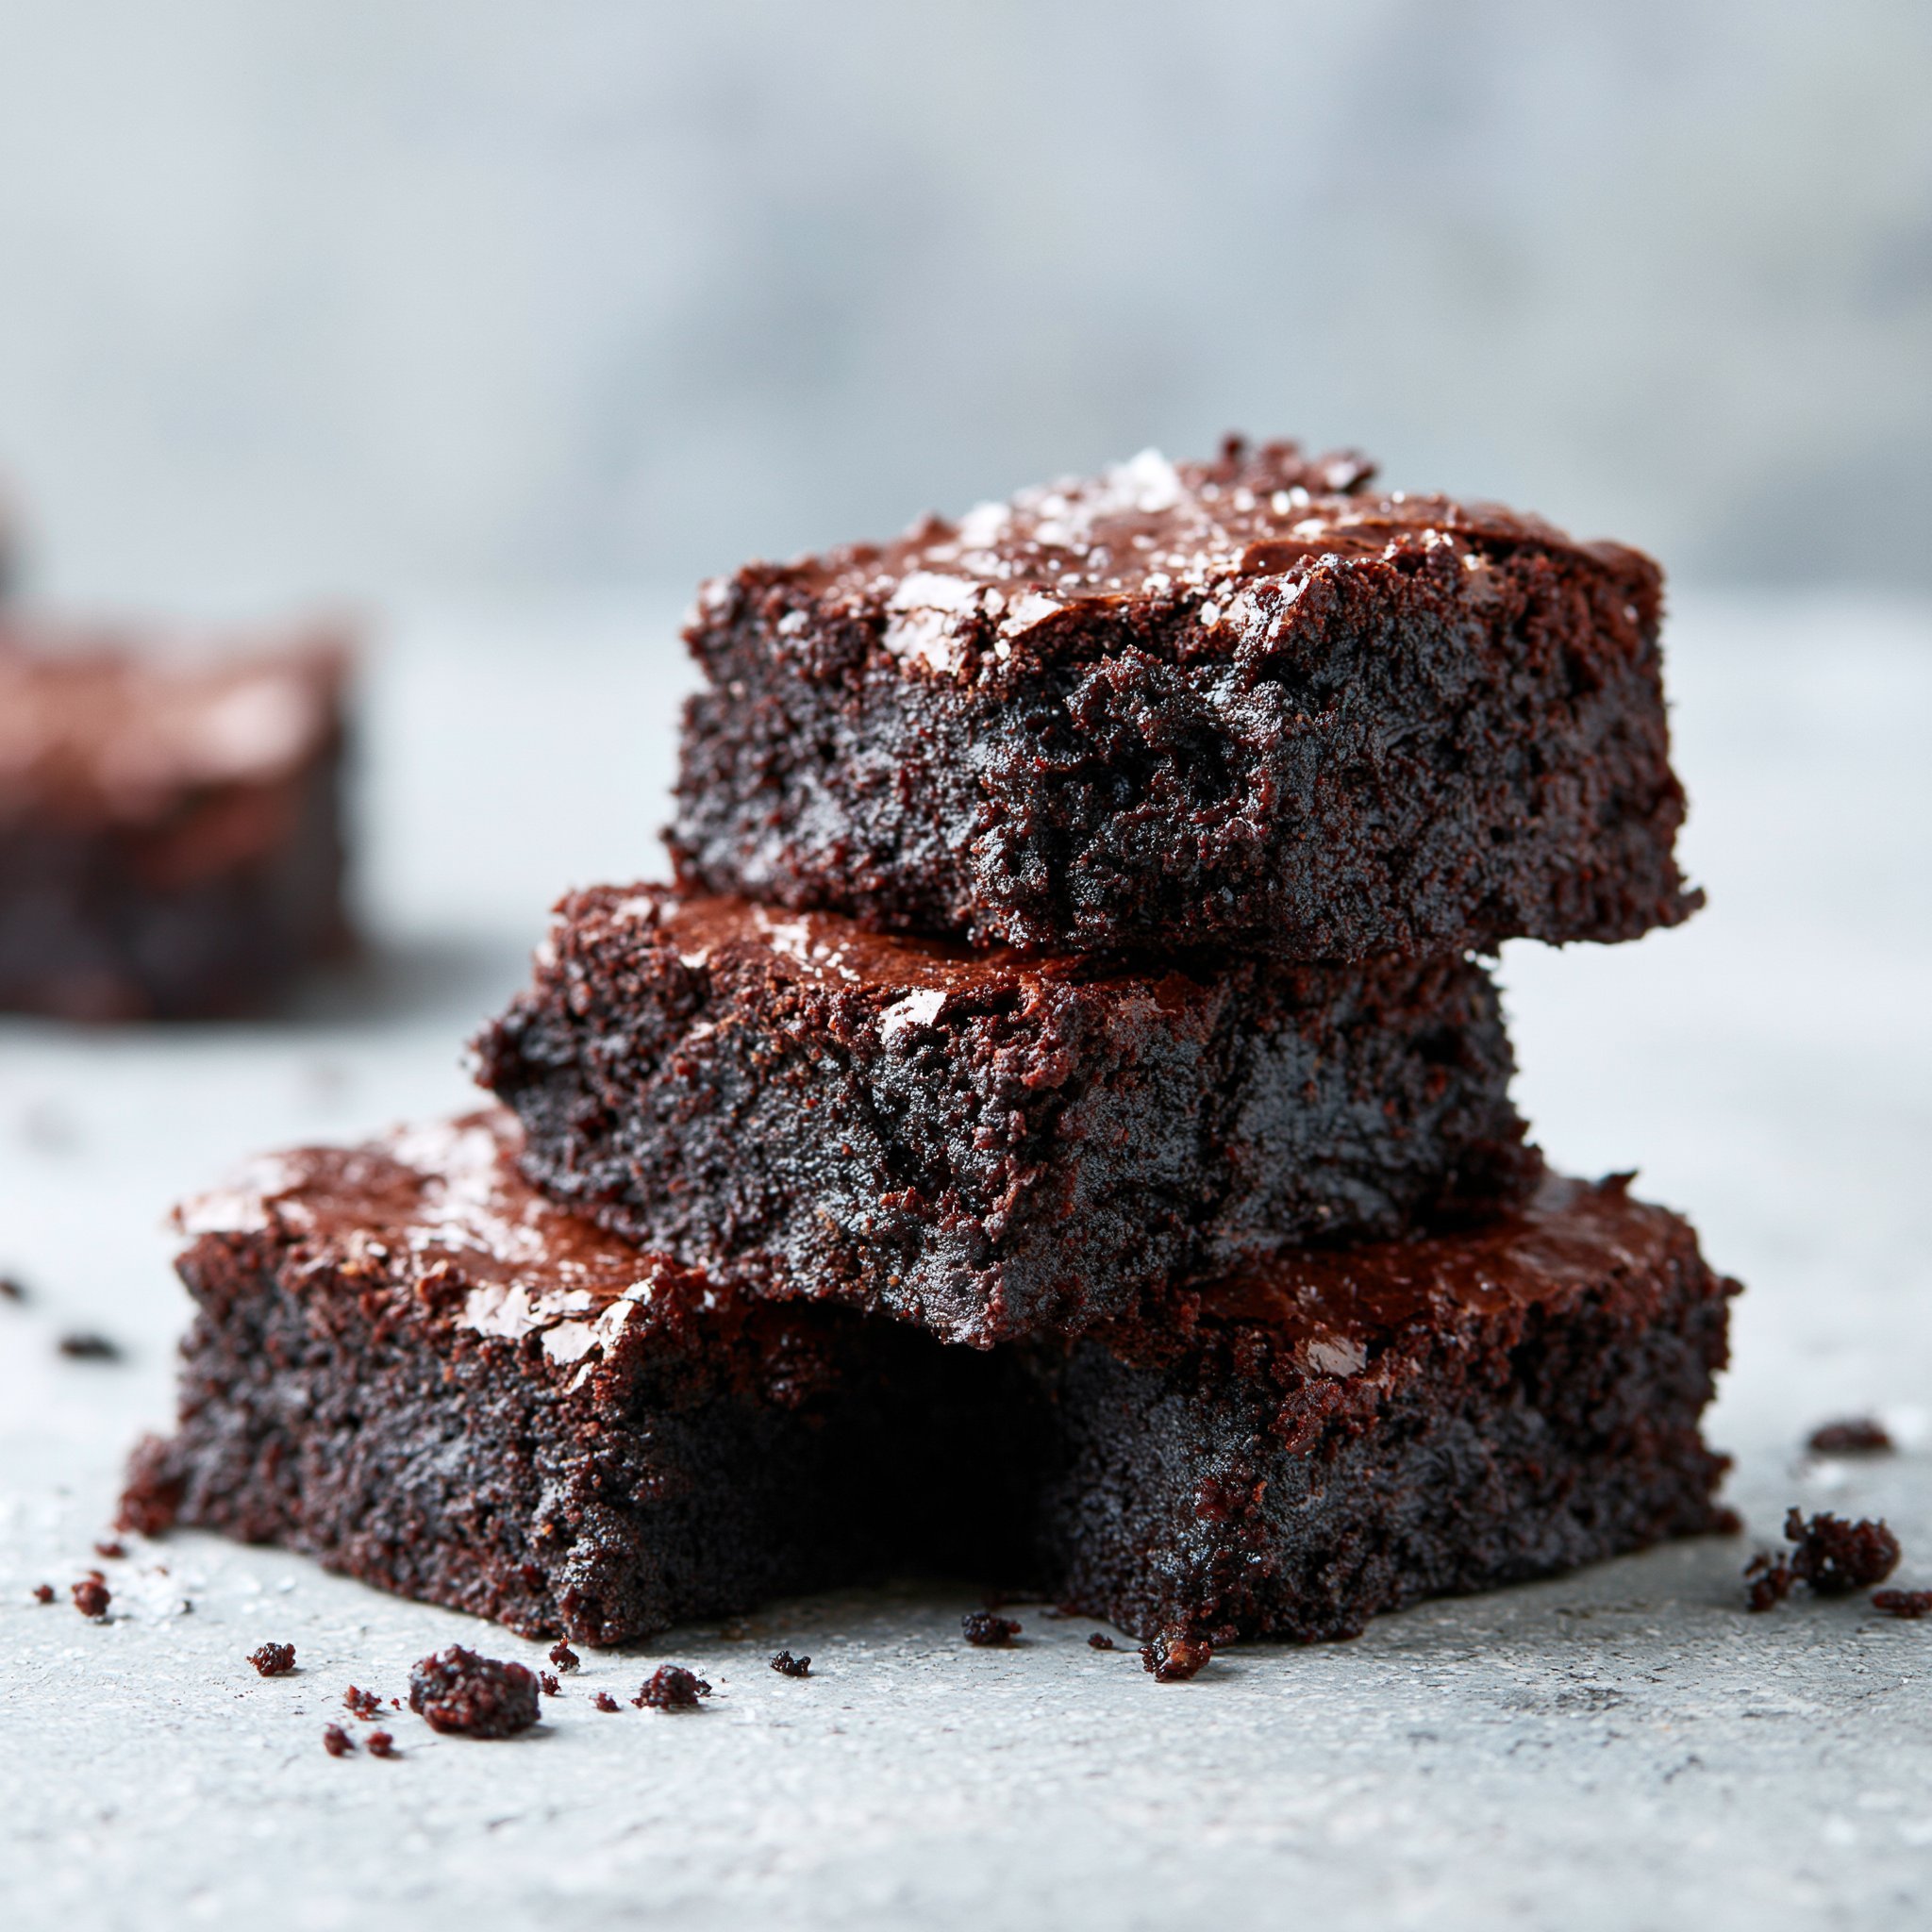
How to Serve It
Serve these slightly warm for the softest centers, or at room temperature when you want a firmer, pick-up-and-go bite. I love stacking them on a plate so you can see the dark, cocoa-rich crumb, and they’re great alongside coffee or a cold glass of milk. If you’re planning a mixed dessert spread, this classic brownie pan is a nice companion so guests can choose between bites and squares.
How to Store It
Once completely cool, store the brownie bites in an airtight container at room temperature for a couple of days so they stay tender. For longer storage, refrigerate in a sealed container and let them come back to room temp before serving so the texture softens again. They also freeze well: freeze in a single layer first, then transfer to a freezer-safe container so they don’t stick together.
Final Thoughts
These gluten-free brownie bites are the kind of small, dependable bake that delivers real chocolate flavor with minimal fuss—stir, scoop, and you’re snacking on warm brownie edges in about 15 minutes.
Conclusion
If you’d like to compare approaches, I’d also browse gluten-free brownie bites with a fudgy center, check out two-bite brownie ideas for easy portioning, or explore another simple gluten-free brownie bite method to see how different ratios and bake times change the final texture.
Gluten-Free Brownie Bites
Ingredients
Method
- Preheat the oven to 350°F (175°C) and grease a mini muffin tin well.
- In a medium bowl, whisk together the gluten-free flour, cocoa powder, sugar, brown sugar, baking powder, and salt.
- In another bowl, combine the melted butter (or coconut oil), eggs, and vanilla until smooth.
- Gently combine the wet mixture with the dry ingredients until just mixed.
- Spoon the batter into the prepared mini muffin cups, filling each about 3/4 full.
- Bake for 12-15 minutes, until the tops appear set.
- Let cool in the tin for a few minutes before removing.