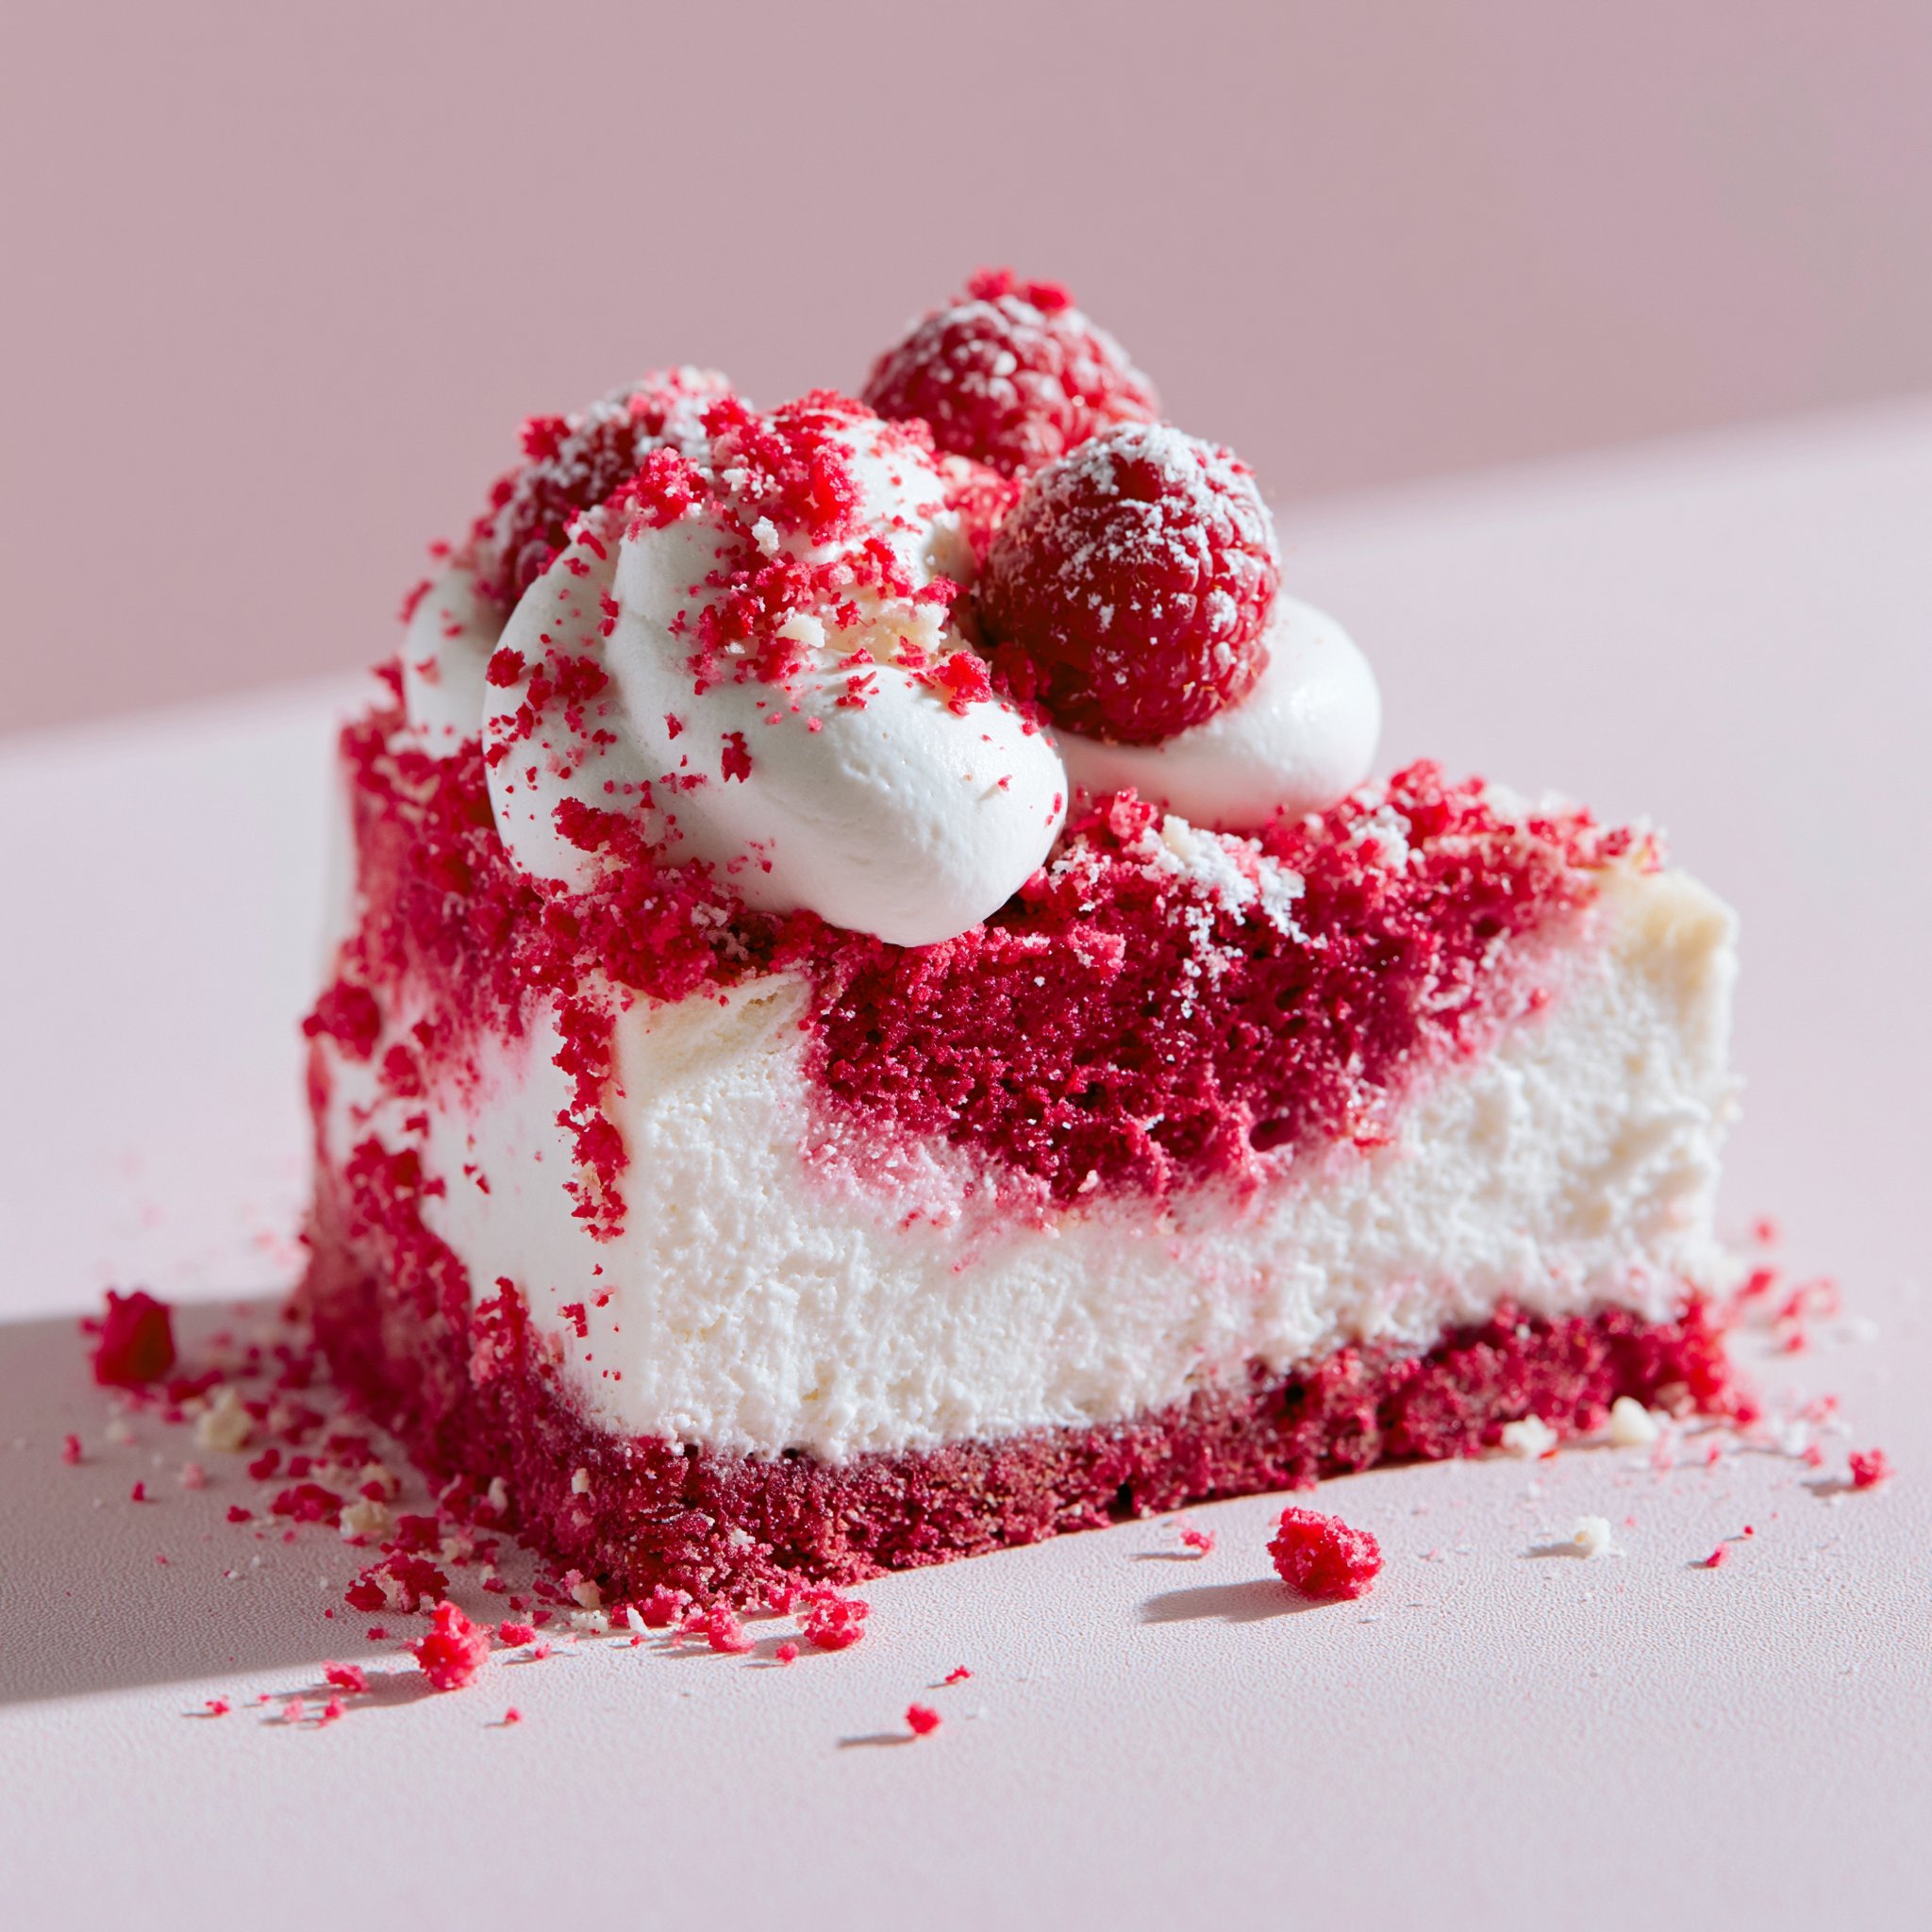
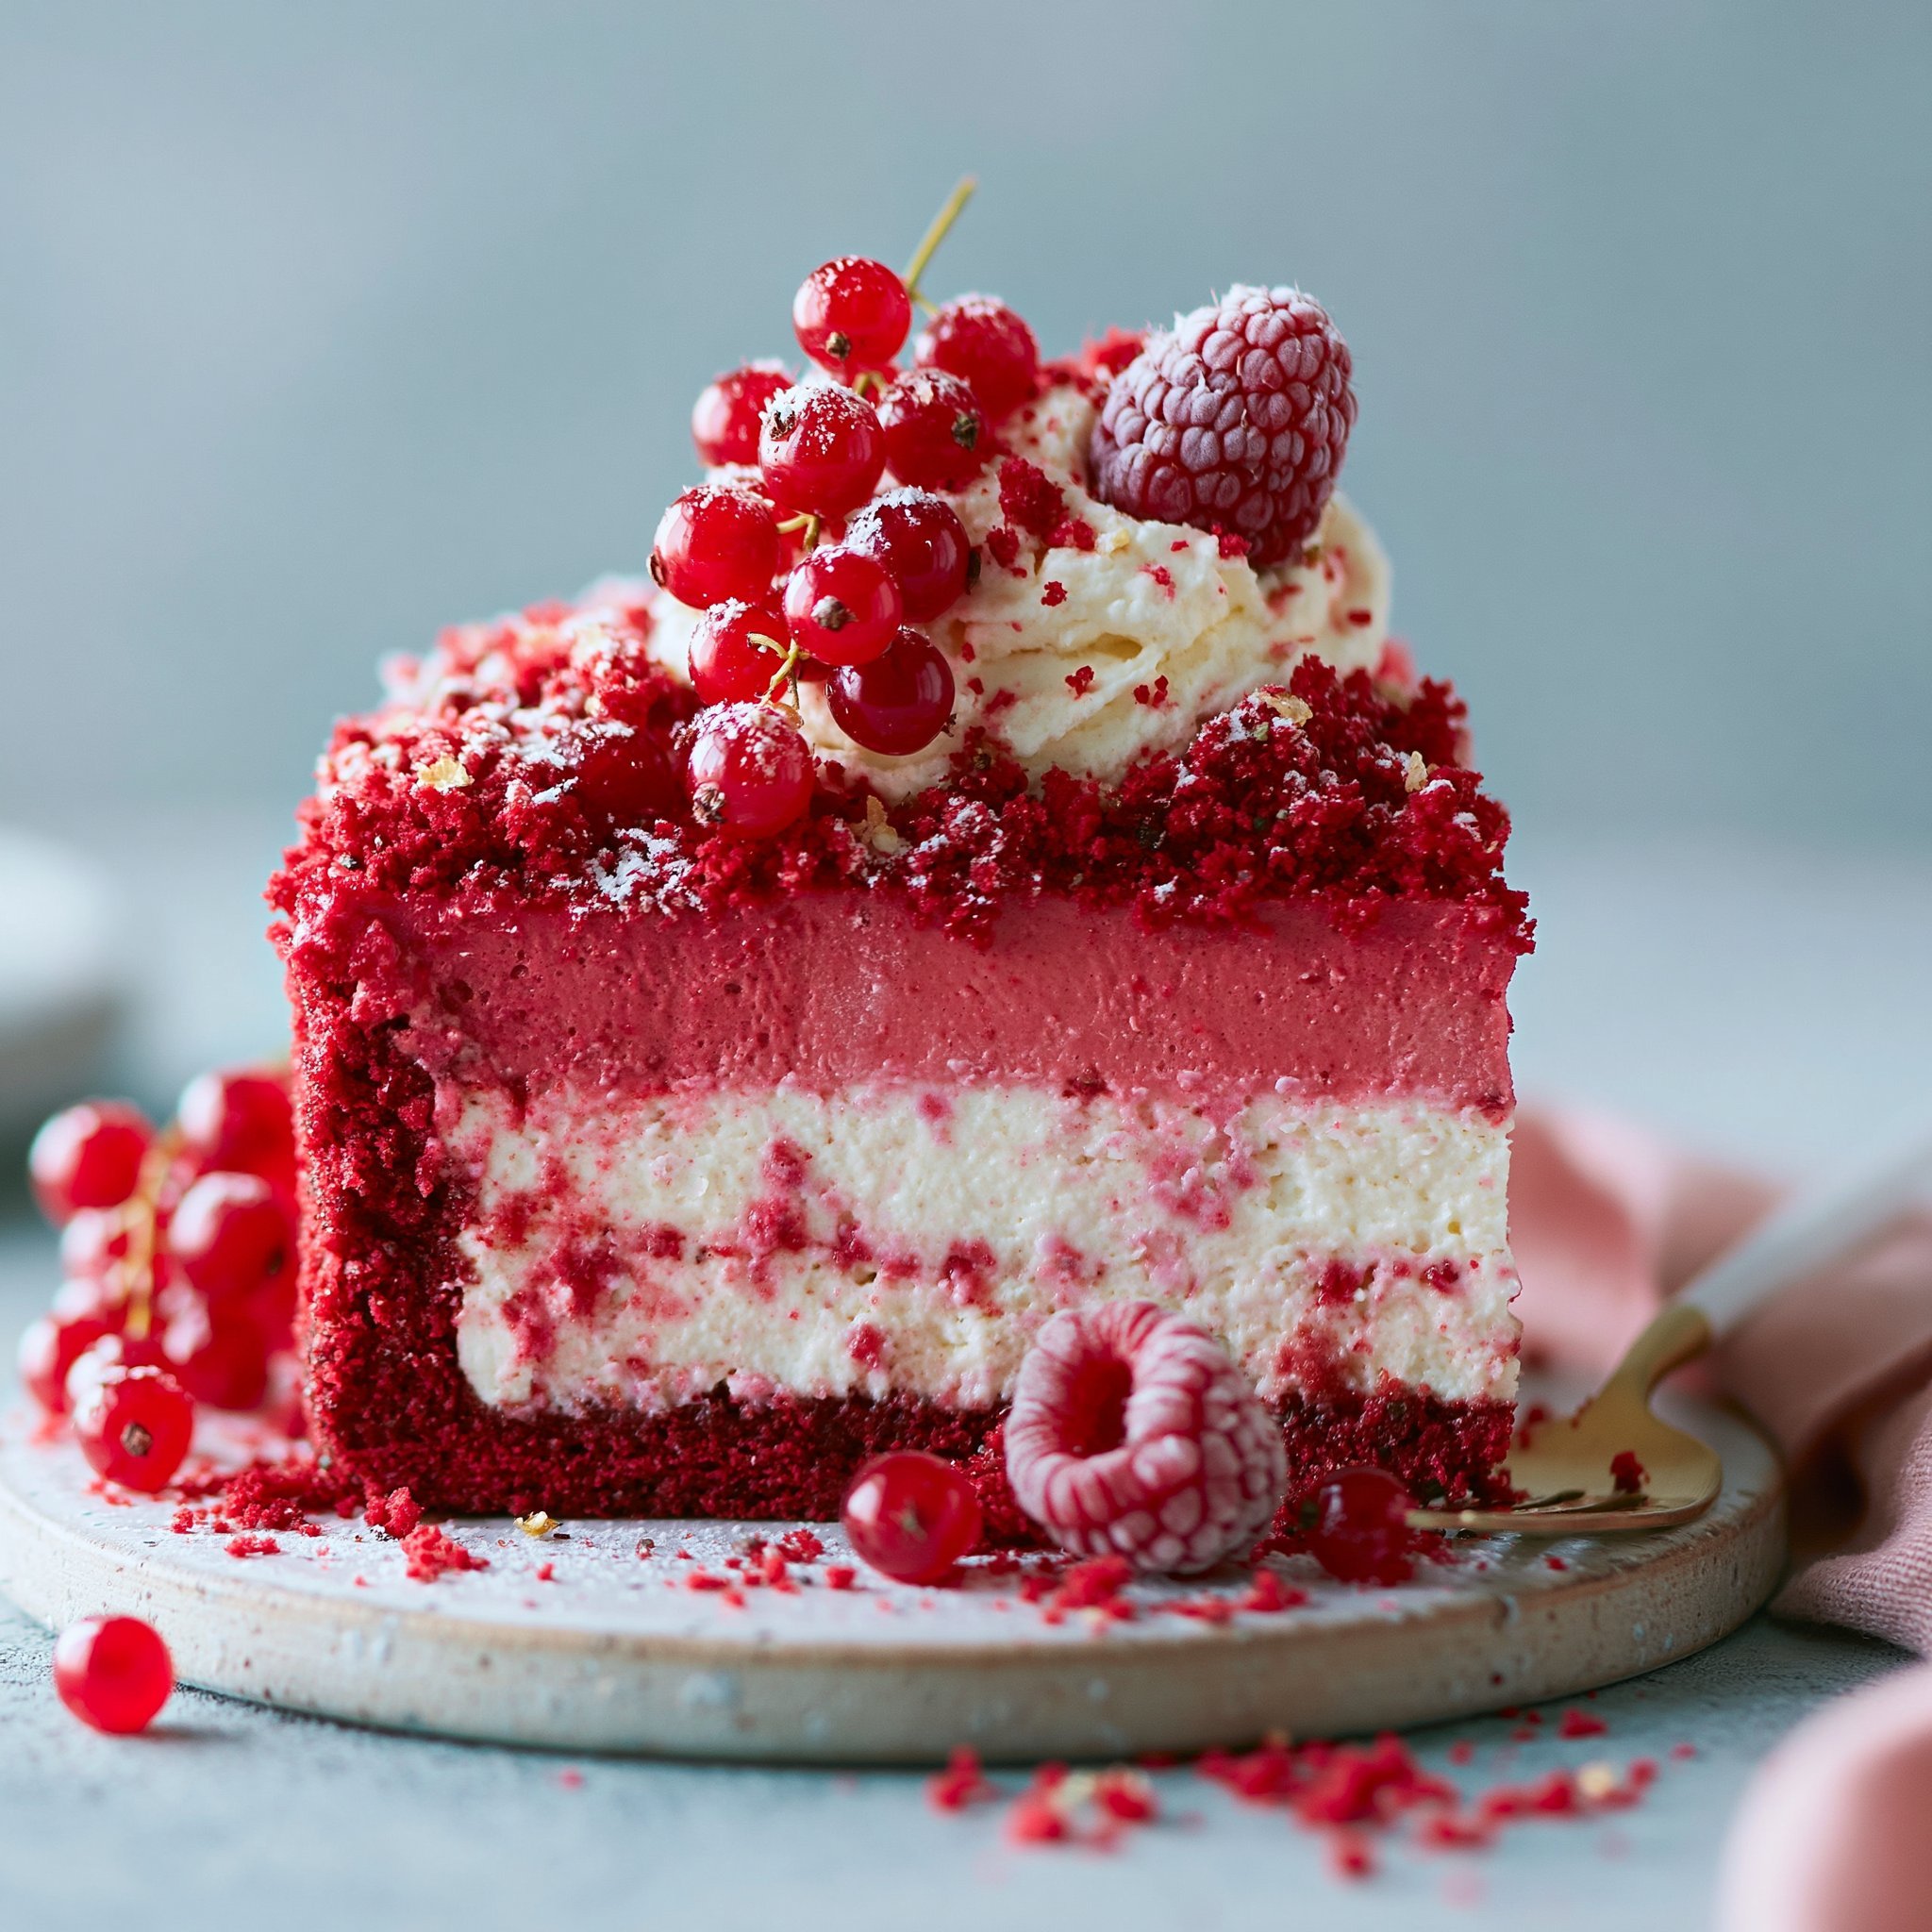
That first slice is the whole point: a deep red velvet cake base that’s tender and cocoa-kissed, topped with a thick layer of vanilla-scented cheesecake that sets up creamy (not stiff), finished with a cloud of lightly sweet whipped topping. The contrast is what makes it feel “knock you naked”—soft cake, silky cheesecake, and airy cream in one forkful.
This one is also a smart make-ahead dessert: you bake the cake layer, chill it, bake the cheesecake layer low and slow, then let the fridge do the final work. If you like practical, cozy bakes like the ones I share over on my recipe blog, you’ll be right at home with this method.
Why You’ll Love This Recipe
- The red velvet base stays plush and cake-y under the cheesecake—no soggy layers, thanks to chilling the cake before you pour.
- The cheesecake layer bakes up creamy and pale with a light tang from sour cream (it balances the sweetness beautifully).
- Whipped topping adds a soft, billowy finish that makes each bite feel lighter than a fully frosted cheesecake.
- You get big bakery-style height using a simple boxed cake mix as the foundation.
- It slices cleanly after the chill time, with distinct layers you can actually see when you serve.
- The optional red velvet crumbs add a pretty, velvety finish and a little extra “cake” texture on top.
The Story Behind This Recipe
I built this cheesecake around a shortcut I genuinely love: using a boxed red velvet cake mix for a reliable, vividly colored base, then making the cheesecake layer from scratch so it tastes unmistakably homemade—extra vanilla, a touch of sour cream tang, and that dense-but-creamy set that feels luxurious when it’s fully chilled.
What It Tastes Like
It’s sweet, but not cloying: you’ll smell vanilla right away, then get a gentle cocoa note from the red velvet layer. The cheesecake is smooth and rich with a faint tang, and the whipped topping melts quickly on the tongue—so the whole slice tastes creamy and soft rather than heavy.
Ingredients You’ll Need
A few details matter here: make sure your cream cheese is truly softened so it beats smooth with the sugar (no little white lumps), and keep the heavy cream cold so it whips into soft, fluffy peaks. If you’re craving another rich chocolate-y dessert sometime, these easy homemade brownies are a great “different day, same cozy vibe” option.
- 1 box red velvet cake mix (plus eggs, oil, and water as directed)
- 16 oz cream cheese, softened
- ⅔ cup granulated sugar
- 2 large eggs
- ⅓ cup sour cream
- 1 tbsp all-purpose flour
- 1 tsp vanilla extract
- ¼ tsp salt
- 2 cups heavy whipping cream
- 4 tbsp powdered sugar
- 2 tsp vanilla extract
- Optional: red velvet cake crumbs for garnish
How to Make Knock You Naked Red Velvet Cheesecake
- Bake the red velvet base. Preheat the oven to 350°F (175°C). Grease a 9-inch springform pan really well (get into the bottom edge where cakes like to stick). Mix the red velvet cake batter according to the box directions (using the eggs, oil, and water it calls for), pour into the pan, and bake 30–32 minutes, until a toothpick comes out clean.
- Cool and chill the cake layer. Let the cake cool completely, then refrigerate it until chilled. This step helps the cheesecake layer sit neatly on top instead of blending into a warm cake.
- Mix the cheesecake batter (don’t overmix). Reduce oven temperature to 325°F (163°C). Beat the softened cream cheese and granulated sugar until smooth and creamy. Add the eggs one at a time, mixing just until each disappears into the batter (stop as soon as it looks uniform). Mix in sour cream, flour, vanilla, and salt; the batter should look thick, smooth, and glossy.
- Prepare the pan sides and add the cheesecake layer. Line the inside sides of the springform pan with parchment. Pour the cheesecake batter over the chilled cake base and smooth the top.
- Bake until just set. Bake 55–60 minutes. You’re looking for edges that look set and slightly puffed, with a center that’s just set (it shouldn’t look wet, but a gentle jiggle in the middle is fine).
- Cool, then chill until fully cold. Cool at room temperature, then refrigerate for 4 hours. This chill is what gives you clean slices and that classic creamy cheesecake texture.
- Whip the topping and finish. In a cold bowl, beat the heavy whipping cream with powdered sugar and vanilla until soft peaks form (fluffy and spreadable, not stiff and grainy). Spread or pipe it over the chilled cheesecake and sprinkle with red velvet crumbs if you want. Slice and serve cold.
Tips for Best Results
- Soften the cream cheese fully. If it’s still cool in the center, you’ll chase lumps forever—softened cream cheese beats into a silky batter fast.
- Mix the eggs in gently. Once eggs go in, stop mixing as soon as the batter looks smooth; overmixing can make the cheesecake bake up a bit puffy and less creamy.
- Chill the cake base before topping. A cold base helps keep the layers distinct and makes pouring the cheesecake batter feel controlled and tidy.
- Watch for “just set,” not “fully firm.” The cheesecake will continue setting as it cools and chills; baking until it looks completely firm can push it toward dry.
- Whip to soft peaks for the prettiest finish. Soft peaks spread like a dream and slice cleanly without breaking or weeping.
Variations and Substitutions
If you want a more dramatic look, pile on extra red velvet crumbs for a deep-red top. You can also pipe the whipped topping instead of spreading it for a more bakery-style presentation—same flavor, just a different finish. When you’re in the mood for another chewy, sweet treat that’s different from cheesecake, I love keeping no-bake peanut butter cookies in rotation for quick dessert cravings.
How to Serve It
Serve this cheesecake well-chilled for the cleanest slices and the strongest layer contrast. I like cutting with a long knife and wiping between slices so the whipped topping stays pristine. A small scatter of red velvet crumbs makes the white whipped topping pop, and if you’re serving it after a cozy dinner, a warm mug of something simple alongside never hurts—on busy nights, I’ll even make a quick dessert-for-one like this microwave cinnamon roll mug cake when I want the same comfort in a faster format.
How to Store It
Store the cheesecake covered in the refrigerator and keep it chilled until serving. It’s at its best within a couple of days while the whipped topping stays fluffy and the cake layer remains tender. For make-ahead, you can bake and chill the cheesecake, then add the whipped topping closer to serving for the freshest, softest finish. If you’re planning a dessert spread, adding a chewy, no-oven option like chocolate mochi is a fun way to mix textures without more baking.
Final Thoughts
This knock-you-naked red velvet cheesecake is all about the layers: vivid red velvet cake, creamy vanilla cheesecake, and a soft whipped cap that makes every bite feel plush and balanced. Give it the chill time it needs, and you’ll be rewarded with slices that look as good as they taste.
Conclusion
If you’d like to compare styles or see how other bakers approach this dessert, take a look at Knock You Naked Red Velvet Cheesecake! – My Incredible Recipes, this classic Red Velvet Cheesecake, and—if you’re craving the same “knock you naked” energy in a different form—these Knock You Naked Brownies.