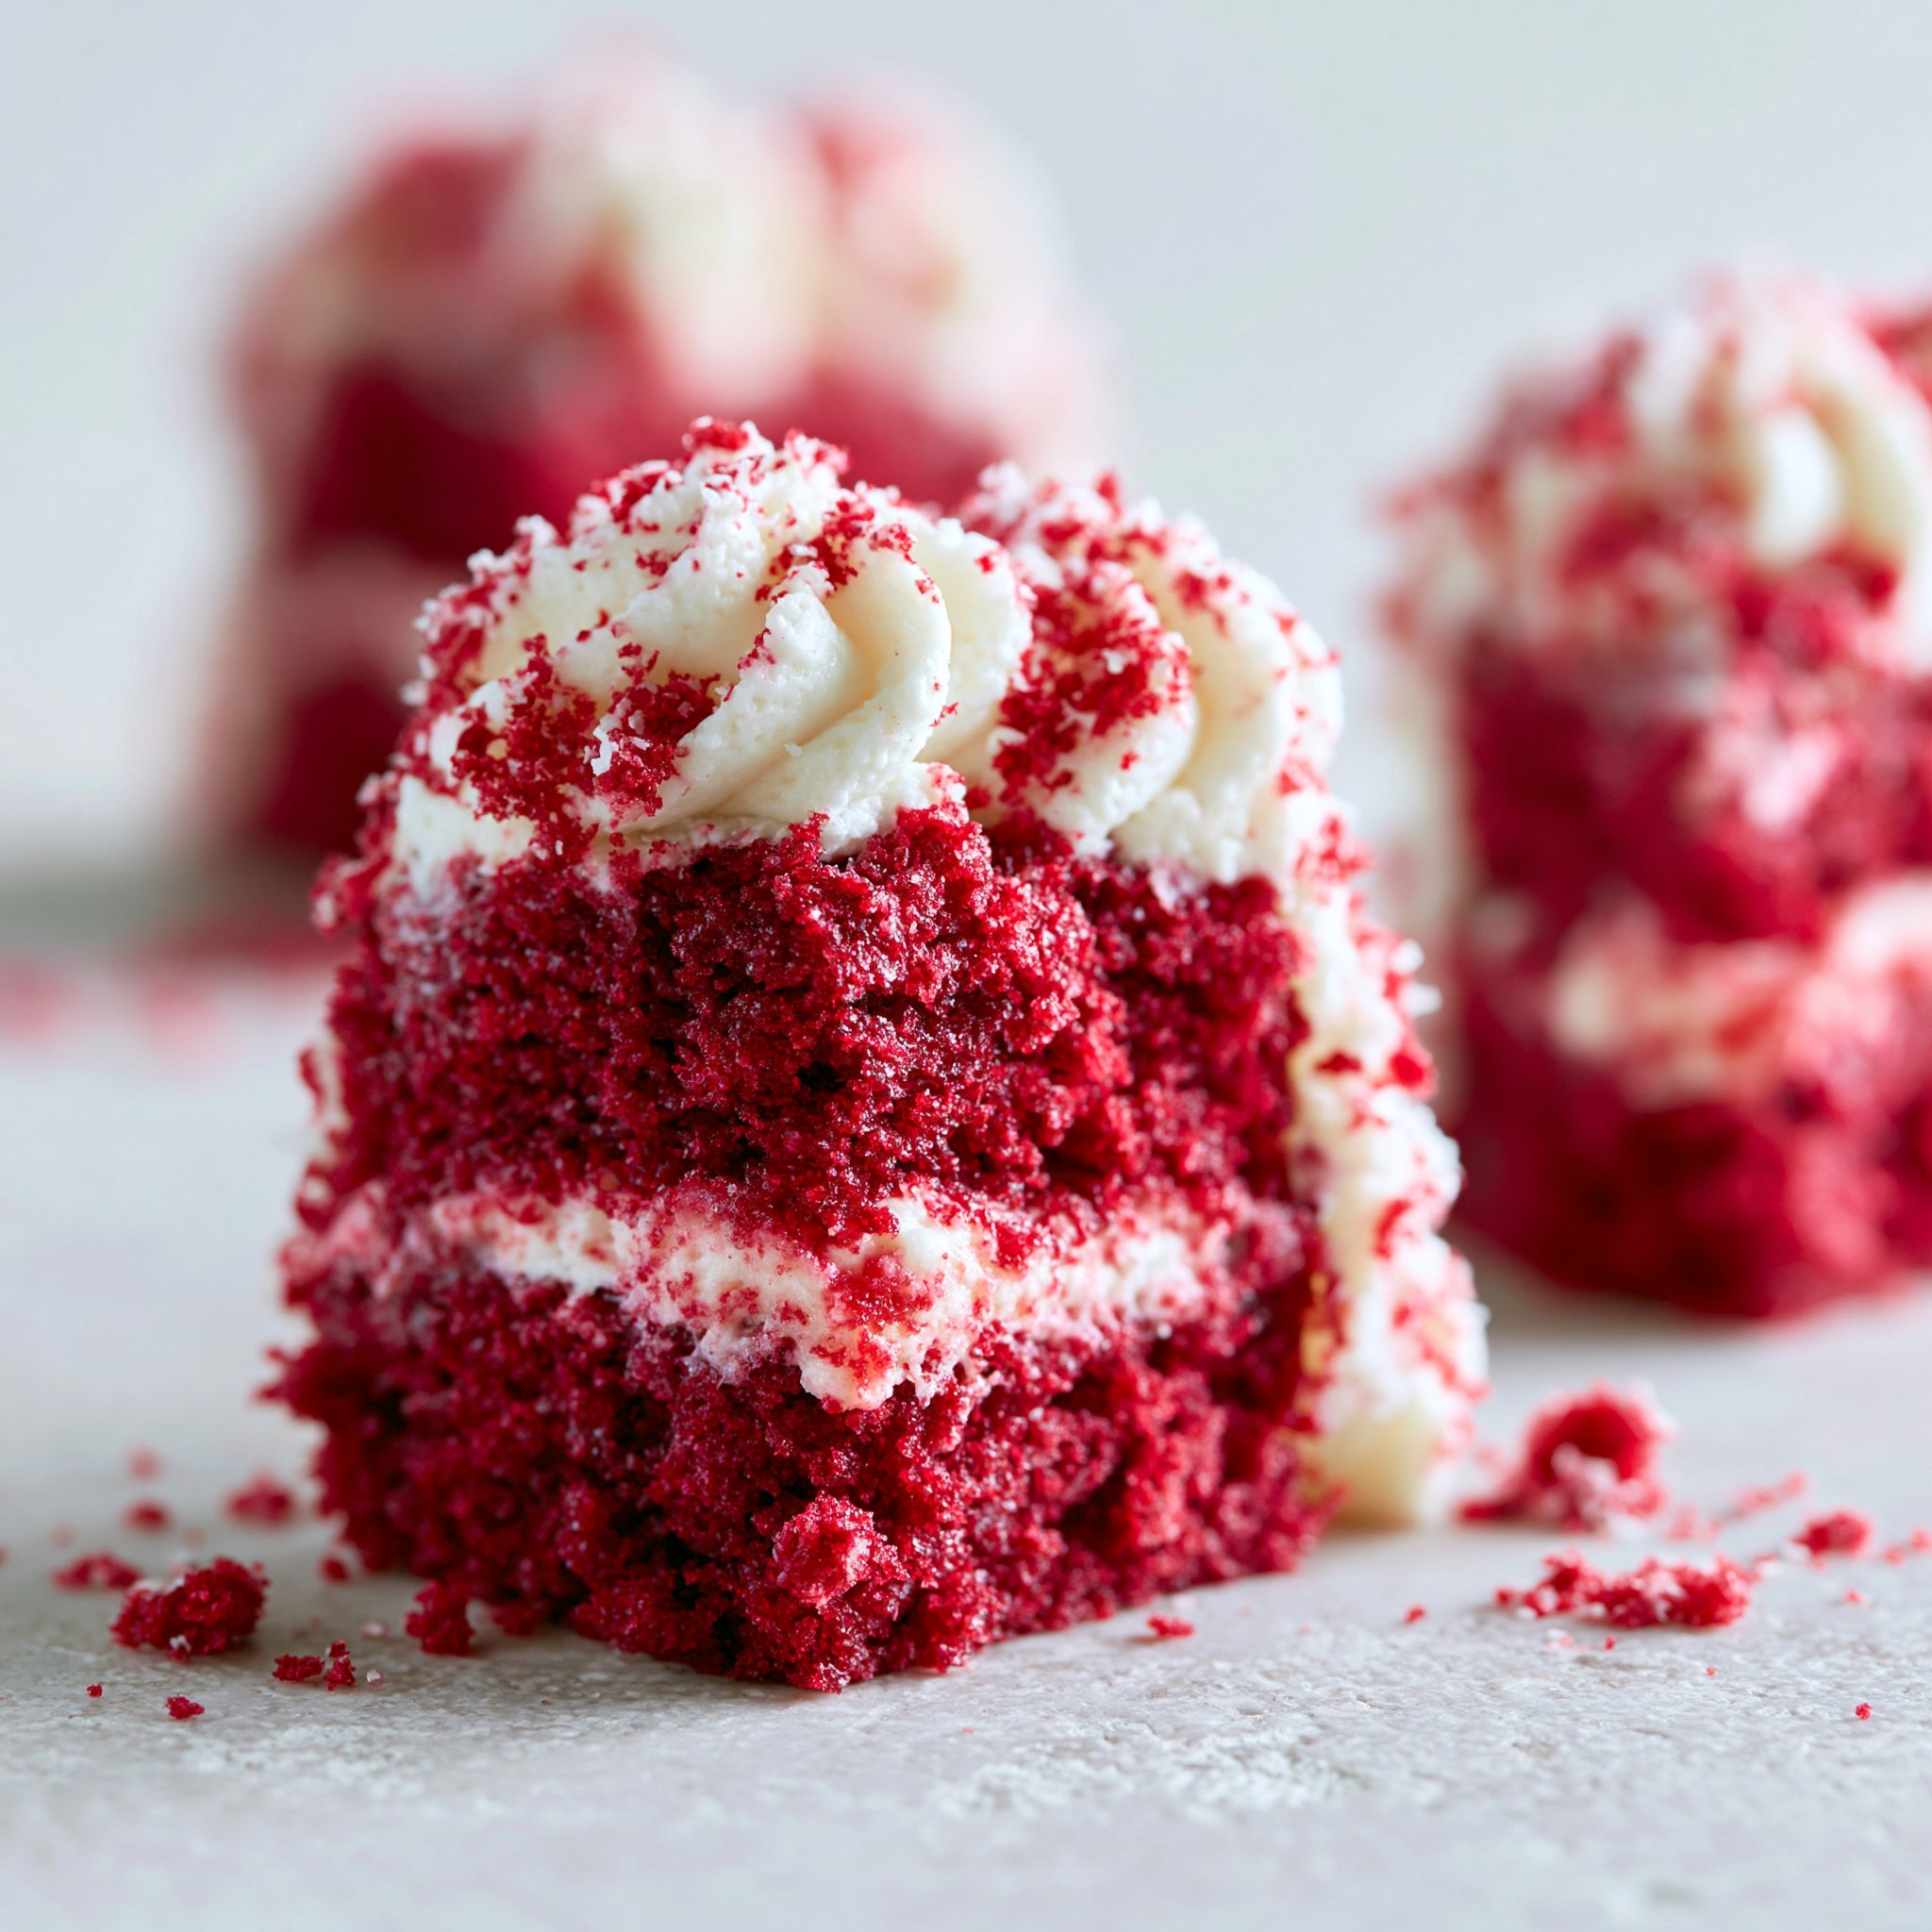
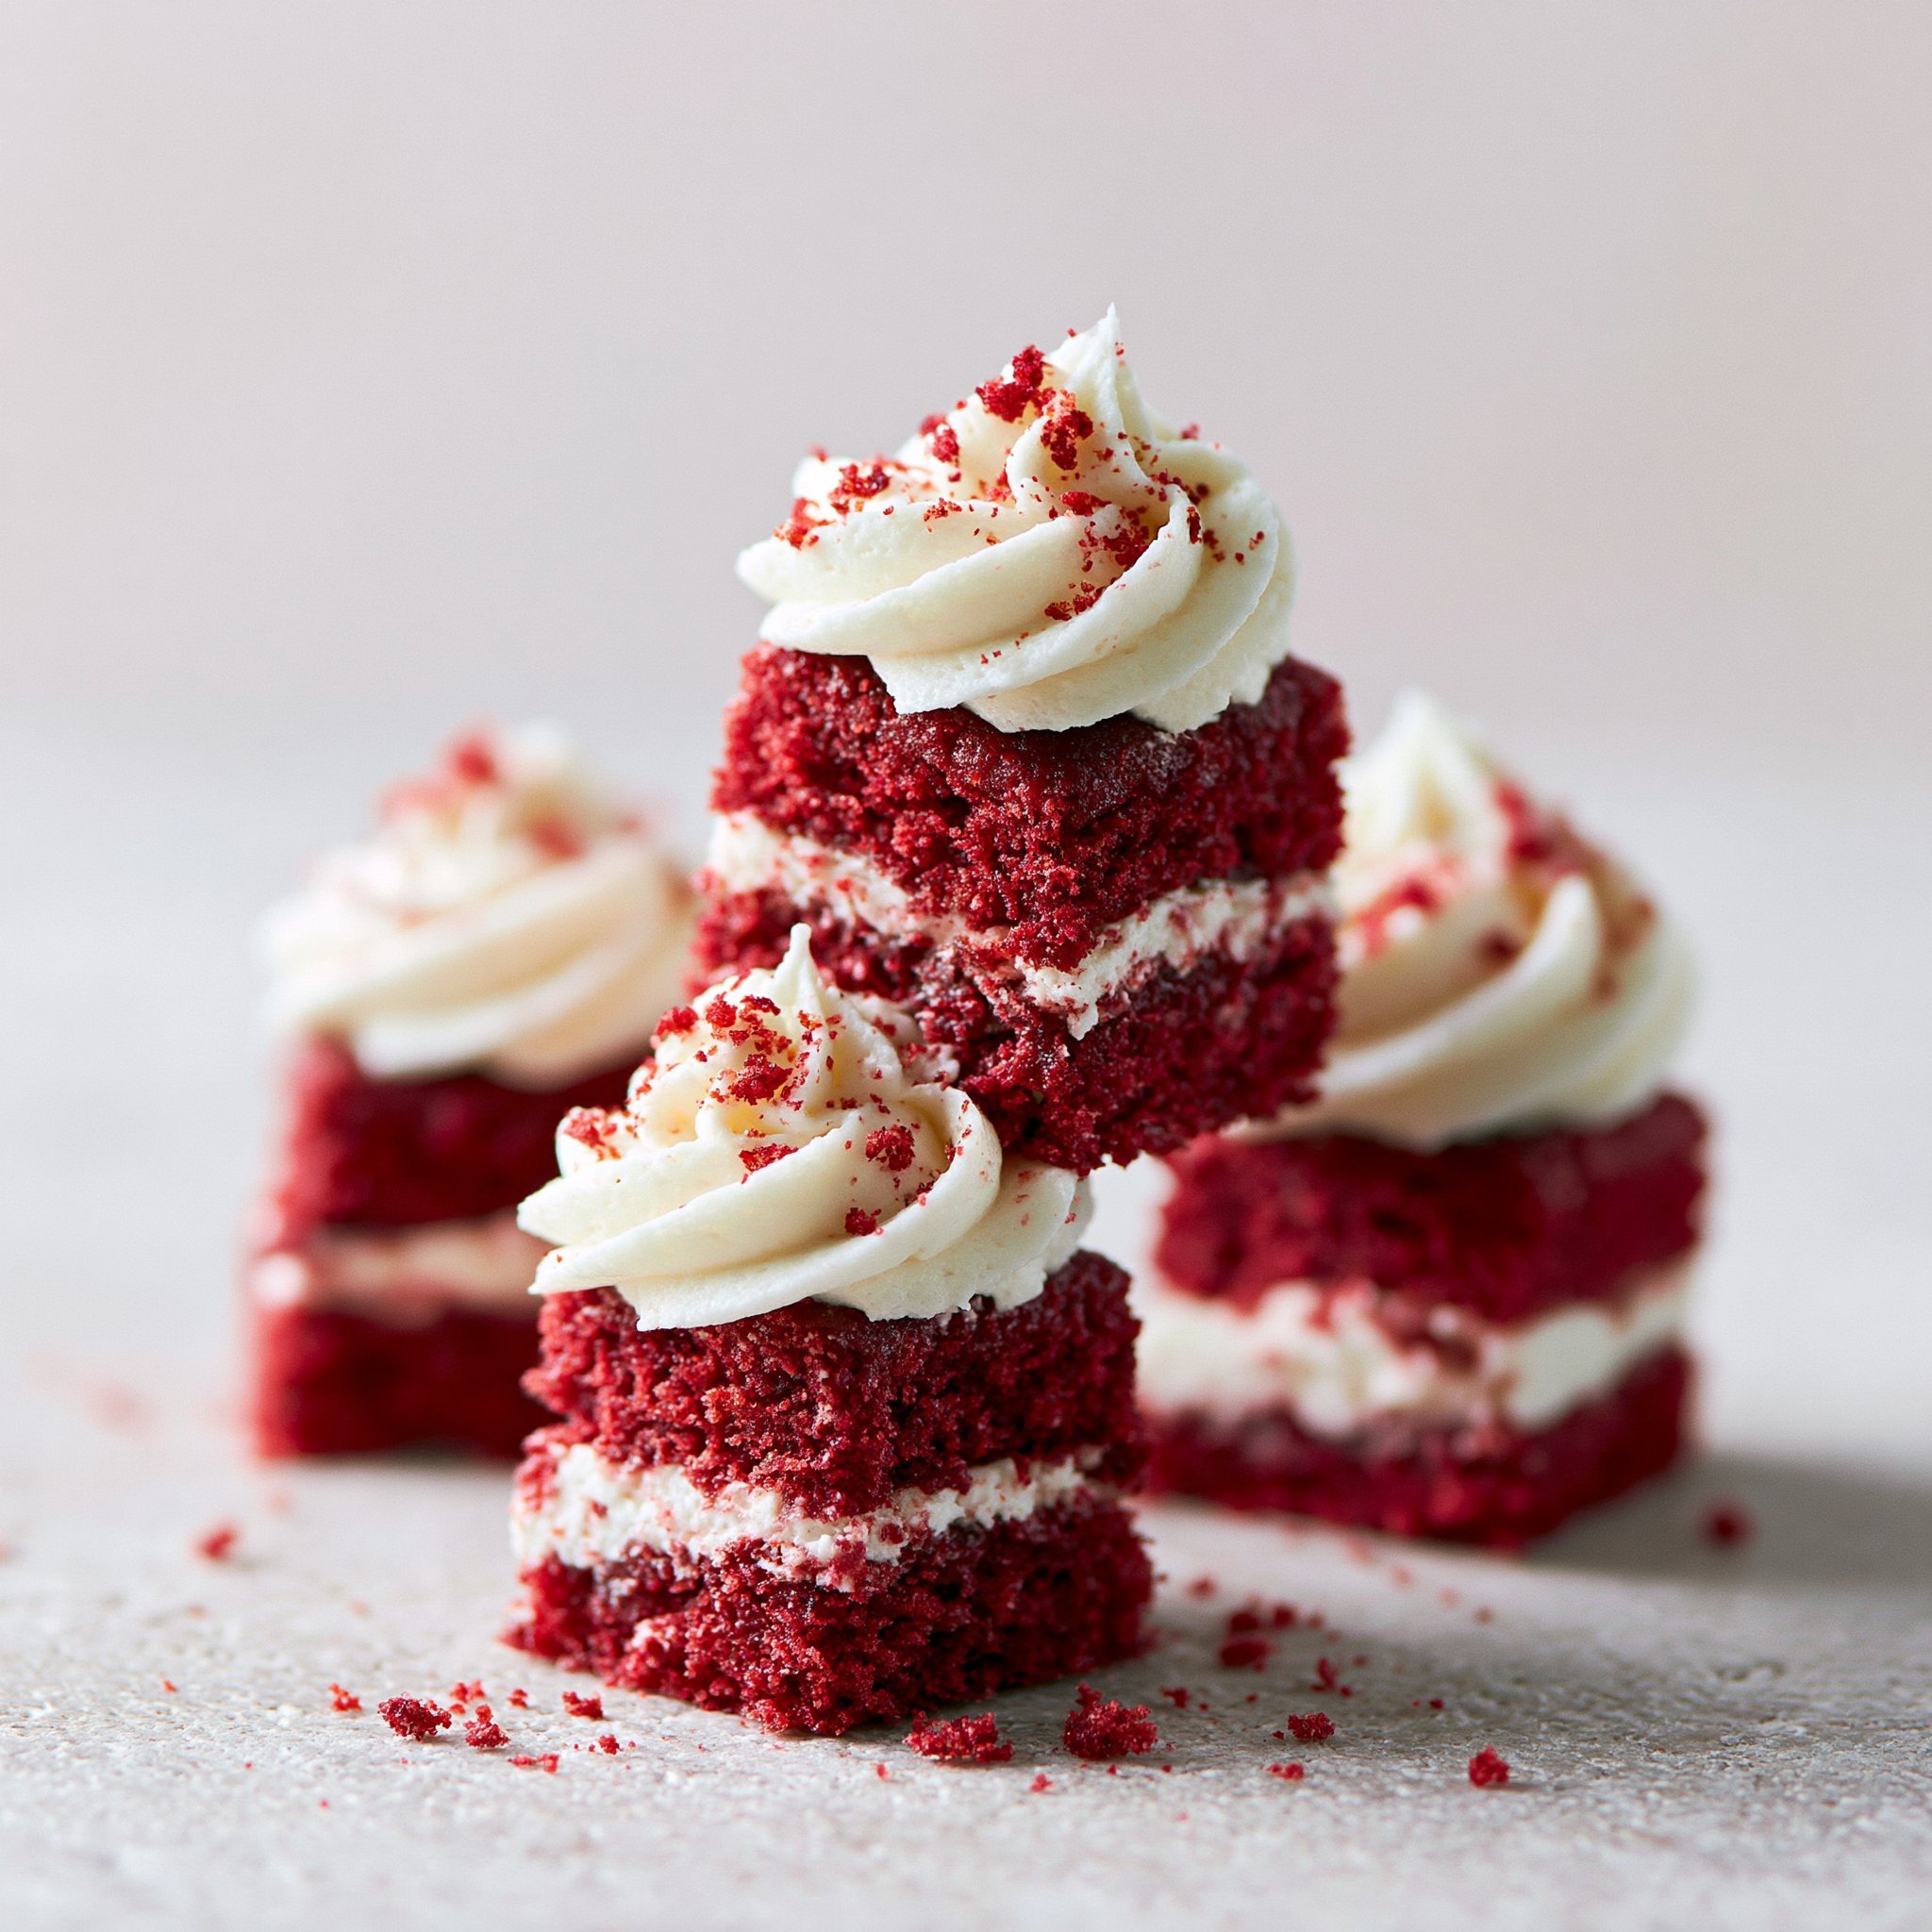
The best thing about these red velvet cake minis is how quickly they deliver that classic red velvet vibe: a tender, cocoa-kissed crumb with a gentle tang from buttermilk, all tucked into two-bite portions. They bake fast (think 10–12 minutes), cool quickly, and the color comes out bright and bakery-pretty without any extra fuss.
If you’re in a “small sweet, big payoff” mood, these feel like the party version of a single-serve treat—kind of the same instant-gratification energy as a microwave cinnamon roll mug cake, just with a mini-muffin tin and a swoop of cream cheese frosting.
Why You’ll Love This Recipe
- They bake in 10–12 minutes, so you’re not waiting forever to get to the frosting.
- The buttermilk + cocoa powder combo gives a true red velvet flavor—mild chocolate, not a full-on chocolate cupcake.
- Vegetable oil keeps the crumb soft and plush even after chilling.
- Mini size means more frosting-to-cake ratio, and the cream cheese frosting tastes like vanilla cheesecake icing.
- The batter comes together with two bowls and a whisk, and you stop mixing as soon as it’s combined—no fancy technique needed.
- They look instantly polished in liners, which makes them easy to share without slicing or plating.
The Story Behind This Recipe
I started making red velvet in mini form because it solves the two biggest red velvet problems: long bake times and messy slicing. With a mini muffin tin, you get tidy portions, fast baking, and a clean slate for that tangy frosting—very similar to how I approach quick comfort desserts like this quick cinnamon roll-style mug treat when I want something sweet without committing to a full cake.
What It Tastes Like
These taste like classic red velvet: lightly chocolaty (thanks to just 2 tablespoons of cocoa), sweet but not cloying, and faintly tangy from the buttermilk. The minis bake up soft with a springy crumb, and the cream cheese frosting is smooth, rich, and vanilla-forward—especially good once the cakes are fully cool so the frosting stays thick and satiny instead of melting.
Ingredients You’ll Need
A few ingredients do the heavy lifting here: buttermilk brings that signature red velvet tang and tenderness, cocoa powder adds subtle depth, and vegetable oil keeps the crumb soft for days. For the frosting, softened cream cheese and butter whip into a smooth base before powdered sugar turns it fluffy and pipeable; if your dairy is too cold, it won’t blend as silky (this is one of those small details that makes the finish feel bakery-level—similar to the “soft center, sweet swirl” comfort you get from a cinnamon roll mug cake moment).
- 1 cup all-purpose flour
- 1 cup granulated sugar
- 1/2 cup vegetable oil
- 1/2 cup buttermilk
- 1 large egg
- 2 tablespoons unsweetened cocoa powder
- 1 teaspoon baking soda
- 1/2 teaspoon salt
- 1 tablespoon red food coloring
- 1 teaspoon vanilla extract
- 4 ounces cream cheese, softened
- 1/2 cup unsalted butter, softened
- 2 cups powdered sugar
- 1 teaspoon vanilla extract
How to Make Red Velvet Cake Minis
- Prep the oven and pan. Heat the oven to 350°F (175°C). Line a mini muffin tin with paper liners so the cakes lift out cleanly and stay neat.
- Whisk the dry ingredients. In a medium bowl, whisk together the flour, granulated sugar, cocoa powder, baking soda, and salt until the cocoa looks evenly dispersed with no dark streaks.
- Whisk the wet ingredients. In a second bowl, whisk the vegetable oil, buttermilk, egg, red food coloring, and vanilla until the mixture looks uniformly red and slightly glossy.
- Combine—gently. Pour the wet mixture into the dry ingredients and stir just until you don’t see dry flour. The batter should look smooth and thick; stop mixing as soon as it comes together to keep the minis tender.
- Fill and bake. Fill each lined cup about 2/3 full (this gives them room to dome without overflowing). Bake for 10–12 minutes, until a toothpick inserted in the center comes out clean.
- Cool completely. Let the minis cool all the way before frosting. If they’re even a little warm, the frosting will slide and turn shiny.
- Make the frosting. Beat the softened cream cheese and softened butter until smooth and creamy, with no lumps. Gradually add the powdered sugar, then beat in the vanilla until the frosting is thick, fluffy, and spreadable.
- Frost and serve. Frost the cooled mini cakes and serve right away, or chill briefly if you want the frosting to set up a little firmer.
Tips for Best Results
- Use truly softened cream cheese and butter for the frosting; if either is cold, you’ll end up chasing lumps instead of getting that smooth, airy finish.
- Whisk the cocoa into the dry ingredients thoroughly so you don’t get little bitter cocoa pockets in the baked minis.
- Stop mixing as soon as the batter is combined. Overmixing can make minis bake up tighter and less velvety.
- Aim for the 2/3-full fill line. Minis rise fast; overfilling can cause rounded tops that spill over the liner edges.
- Cool fully before frosting. If you want a quick cooldown, spread the minis out so steam doesn’t soften the liners—this same “don’t trap heat” idea is key in quick desserts like a fast mug cake where carryover heat keeps cooking the center.
Variations and Substitutions
- Food coloring: You can adjust the amount of red food coloring to your preference for a deeper or softer red, but keep the rest of the ratios the same for the right texture.
- Frosting texture: For a slightly looser frosting, beat it a touch longer once the powdered sugar is in; for a firmer frosting, keep mixing just until fluffy and stop before it warms too much.
How to Serve It
I like serving these slightly cool or at room temperature so the crumb stays soft and the frosting tastes extra creamy. Arrange them on a platter so the red cake pops against the white frosting, or nestle them into a mini cupcake stand if you want a tidy presentation. If you’re building a small dessert spread, pair them with something warm and cinnamon-y—these minis sit nicely next to a quick cinnamon roll mug cake for a fun “two textures, two vibes” situation.
How to Store It
Because of the cream cheese frosting, store the frosted minis in the refrigerator in a covered container. They’re best after they sit for a bit (the crumb stays soft thanks to the oil), and you can let them stand at room temperature for a short time before serving so the frosting tastes less firm and more luscious. If you want to make them ahead, bake and cool the minis first, then frost once they’re completely cool for the cleanest swirl and the neatest liners.
Final Thoughts
Red velvet is all about that balance—soft cocoa crumb, a little tang, and a creamy vanilla finish—and these minis hit it in the simplest, most reliable way. If you want a dessert that looks special but bakes fast, this is the batch I’d reach for.
Conclusion
If you love seeing how other bakers approach mini red velvet, compare notes with Sprinkle Bakes’ red velvet cake minis for styling inspiration, check out Amycakes Bakes’ super-moist mini red velvet cakes for another mini format, and browse Sugar & Sparrow’s small batch red velvet cake if you’re in the mood for a slightly bigger (but still not huge) bake.
Red Velvet Cake Minis
Ingredients
Method
- Heat the oven to 350°F (175°C). Line a mini muffin tin with paper liners.
- In a medium bowl, whisk together flour, granulated sugar, cocoa powder, baking soda, and salt until evenly combined.
- In another bowl, whisk the vegetable oil, buttermilk, egg, red food coloring, and vanilla until uniformly mixed.
- Pour the wet mixture into the dry ingredients and stir just until combined. Do not overmix.
- Fill each lined muffin cup about 2/3 full and bake for 10–12 minutes.
- Check for doneness with a toothpick; it should come out clean.
- Allow the minis to cool completely before frosting.
- Beat cream cheese and butter until smooth. Gradually add powdered sugar and vanilla, mixing until fluffy.
- Frost the cooled cakes and serve immediately, or chill for a firmer frosting.